Taping & compound
Joints, corners, and fasteners receive attention through the finishing process.
 AJ DRYWALL, LLC.616-278-5406FREE ESTIMATE
DRYWALL FINISHING
Taping. Mudding. Sanding. The careful work that brings sheets of drywall together into a surface ready for its next chapter.
GET MY FREE ESTIMATE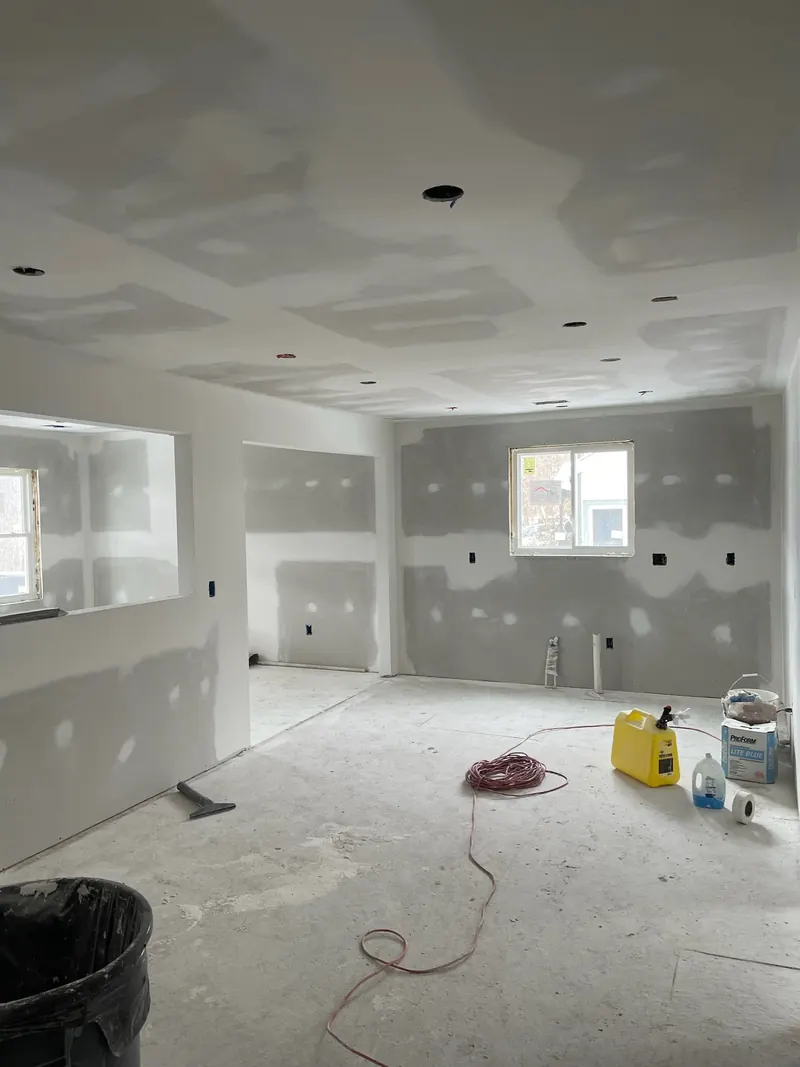
THE WORK BEHIND THE RESULT
Lighting, wall color, and the final wall treatment all affect how a surface looks. We discuss those details with you before finishing begins, so the scope suits your space.
See the workLET’S TALK SCOPE
Joints, corners, and fasteners receive attention through the finishing process.
Taped joints, inside corners and fasteners are built up with successive coats of compound and smoothed. A common choice for flat paint, light texture and appropriate wallcoverings; the board faces are not fully skim coated.
All Level 4 preparation, plus a thin skim coat across the entire wall or ceiling. This creates a more uniform base and helps reduce seams showing through darker colors, paint with sheen or strong side lighting.
FROM BARE BOARD TO A REFINED FINISH
Our “Art of Perfection” guide walks through the stages of drywall finishing. Here’s how those levels relate to the room you’re creating.
LEVEL 0
Board is installed, but joints have not been taped or finished. This is the bare canvas for a project still in progress, rather than a decorated wall.
Typical fit: Temporary construction or an undecided final finish.
LEVEL 1
Tape is embedded in compound at the joints and inside corners. The surface remains rough; fasteners are not finished for appearance.
Typical fit: Concealed spaces where appearance is not the priority.
LEVEL 2
Taped joints receive a thin covering of compound, and fasteners are covered. This is a functional finish, with tool marks still acceptable.
Typical fit: Utility areas or a suitable tile substrate, depending on the specified assembly.
LEVEL 3
Another coat builds over the taped joints, with further attention to fasteners and a smoother surface. It creates a base for a substantial texture or covering.
Typical fit: Medium or heavy texture; not a smooth painted-wall finish.
LEVEL 4
Joints, corners and fasteners are built up and smoothed through successive coats. The board faces are not fully skim coated. It is a common choice for living spaces when the final paint and lighting suit it.
Typical fit: Flat paint, light texture and appropriate wallcoverings.
LEVEL 5
Level 4 preparation is followed by a thin skim coat over the entire surface. This helps even out differences between board and joint areas, reducing the chance of seams showing through the final decoration.
Typical fit: Darker colors, paint with sheen, and strong side lighting.
GO A LITTLE DEEPER
Explore the full guide, then talk with us about your paint, lighting and finish expectations. We offer Level 4 and Level 5 finishes and include the agreed scope in your estimate.
Finish levels describe preparation before decoration. Primer, paint and room lighting affect the final appearance; Level 5 minimizes surface differences rather than guaranteeing a perfectly flat wall. Technical reference: Gypsum Association GA-214.
Tell us about your paint, lighting, and expectations. We’ll help you compare the finish options for your actual room.
Compound needs drying time between coats. The schedule depends on the work, materials, and conditions in the space.
Share photos and the current state of the project. We can assess the installation and discuss the work needed to finish it.
YOUR NEXT PROJECT STARTS HERE.
New space. Better finish. Damage gone.
Tell us what you’re working on.